(1)#include <curses.h> (2)WINDOW *win1, *win2, *win3; main() { (3) initscr(); . . . endwin(); } |
Key to Example 6-1:
- The preprocessor directive includes the <curses.h> header file, which defines the data structures and variables used to implement Curses. The <curses.h> header file includes the <stdio.h> header file, so it is not necessary to duplicate this action by including <stdio.h> again in the program source code. You must include <curses.h> to use any of the Curses functions or macros.
- In the example, WINDOW is a data structure defined in <curses.h> . You must declare each user-specified window in this manner. In Example 6-1, the three defined windows are win1 , win2 , and win3 .
- The initscr and endwin functions begin and end the window editing session. The initscr function clears the terminal screen (for OpenVMS Curses only; BSD-based Curses does not clear the screen), and allocates space for the windows stdscr and curscr . The endwin function deletes all windows and clears the terminal screen.
Most Curses users wish to define and modify windows. Example 6-2 shows you how to define and write to a single window.
| Example 6-2 Manipulating Windows |
|---|
#include <curses.h>

WINDOW  *win1, *win2, *win3;

main()
{
   initscr();

(1)   win1 = newwin(24, 80, 0, 0);
(2)   mvwaddstr(win1, 2, 2, "HELLO");
      .
      .
      .
   endwin();
}
|
Key to Example 6-2:
- The newwin function defines a window 24 rows high and 80 columns wide with a starting position at coordinates (0,0), the upper left corner of the terminal screen. The program assigns these attributes to win1 . The coordinates are specified as follows: (lines,columns) or (y,x).
- The mvwaddstr macro performs the same task as a call to the separate macros move and addstr . The mvwaddstr macro moves the cursor to the specified coordinates and writes a string onto stdscr .
Most Curses macros update stdscr by default. Curses functions that update other windows have the same name as the macros but with the added prefix "w". For example, the addstr macro adds a given string to stdscr at the current cursor position. The waddstr function adds a given string to a specified window at the current cursor position. |
When updating a window, specify the cursor position relative to the origin of the window, not the origin of the terminal screen. For example, if a window has a starting position of (10,10) and you want to add a character to the window at its starting position, specify the coordinates (0,0), not (10,10).
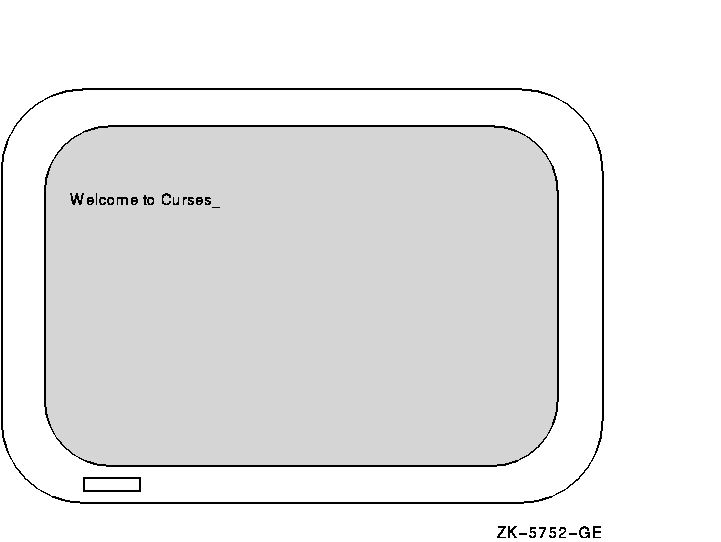
The string HELLO in Example 6-2 does not appear on the terminal screen until you refresh the screen. You accomplish this by using the wrefresh function. Example 6-3 shows how to display the contents of win1 on the terminal screen.
| Example 6-3 Refreshing the Terminal Screen |
|---|
#include <curses.h>

WINDOW  *win1, *win2, *win3;

main()
{
   initscr();

   win1 = newwin(22, 60, 0, 0);
   mvwaddstr(win1, 2, 2, "HELLO");
   wrefresh(win1);
      .
      .
      .
   endwin();
}
|
The
wrefresh
function updates just the region of the specified window on the
terminal screen. When the program is executed, the string HELLO appears
on the terminal screen until the program executes the
endwin
function. The
wrefresh
function only refreshes the part of the window on the terminal screen
that is not overlapped by another window. If
win1
was overlapped by another window and you want all of
win1
to be displayed on the terminal screen, call the
touchwin
function.
6.5 Predefined Variables and Constants
The <curses.h> header file defines variables and constants useful for implementing Curses (see Table 6-2).
| Name | Type | Description |
|---|---|---|
| curscr | WINDOW * | Window of current screen |
| stdscr | WINDOW * | Default window |
| LINES | int | Number of lines on the terminal screen |
| COLS | int | Number of columns on the terminal screen |
| ERR | --- | Flag (0) for failed routines |
| OK | --- | Flag (1) for successful routines |
| TRUE | --- | Boolean true flag (1) |
| FALSE | --- | Boolean false flag (0) |
| _BLINK | --- | Parameter for setattr and clrattr |
| _BOLD | --- | Parameter for setattr and clrattr |
| _REVERSE | --- | Parameter for setattr and clrattr |
| _UNDERLINE | --- | Parameter for setattr and clrattr |
For example, you can use the predefined macro ERR to test the success or failure of a Curses function. Example 6-4 shows how to perform such a test.
| Example 6-4 Curses Predefined Variables |
|---|
#include <curses.h>

WINDOW  *win1, *win2, *win3;

main()
{
   initscr();
   win1 = newwin(10, 10, 1, 5);
      .
      .
      .
   if (mvwin(win1, 1, 10) == ERR)
      addstr("The MVWIN function failed.");
      .
      .
      .
   endwin();
}
|
In Example 6-4, if the
mvwin
function fails, the program adds a string to
stdscr
that explains the outcome. The Curses
mvwin
function moves the starting position of a window.
6.6 Cursor Movement
In the UNIX system environment, you can use Curses functions to move the cursor across the terminal screen. With other implementations, you can either allow Curses to move the cursor using the move function, or you can specify the origin and the destination of the cursor to the mvcur function, which moves the cursor in a more efficient manner.
In HP C for OpenVMS Systems, the two functions are functionally equivalent and move the cursor with the same efficiency.
Example 6-5 shows how to use the move and mvcur functions.
| Example 6-5 The Cursor Movement Functions |
|---|
#include <curses.h>

main()
{
   initscr();
      .
      .
      .
(1)   clear();
(2)   move(10, 10);
(3)   move(LINES/2, COLS/2);
(4)   mvcur(0, COLS-1, LINES-1, 0);
      .
      .
      .
   endwin();
}
|
Key to Example 6-5:
- The clear macro erases stdscr and positions the cursor at coordinates (0,0).
- The first occurrence of move moves the cursor to coordinates (10,10).
- The second occurrence of move uses the predefined variables LINES and COLS to calculate the center of the screen (by calculating the value of half the number of LINES and COLS on the screen).
- The mvcur function forces absolute addressing. This function can address the lower left corner of the screen by claiming that the cursor is presently in the upper right corner. You can use this method if you are unsure of the current position of the cursor, but move works just as well.
6.7 Program Example
The following program example shows the effects of many of the Curses macros and functions. You can find explanations of the individual lines of code, if not self-explanatory, in the comments to the right of the particular line. Detailed discussions of the functions follow the source code listing.
Example 6-6 shows the definition and manipulation of one user-defined window and stdscr .
| Example 6-6 stdscr and Occluding Windows |
|---|
/*        CHAP_6_STDSCR_OCCLUDE.C                       */

/* This program defines one window: win1.  win1 is      */
/* located towards the center of the default window     */
/* stdscr.  When writing to an occluding window (win1)  */
/* that is later erased, the writing is erased as well. */

#include <curses.h>     /* Include header file.         */

WINDOW *win1;                   /* Define windows.      */

main()
{
    char str[80];               /* Variable declaration.*/

    initscr();  /* Set up Curses.   */
    noecho();   /* Turn off echo.   */

    /* Create window.             */
    win1 = newwin(10, 20, 10, 10);

    box(stdscr, '|', '-');  /* Draw a box around stdscr. */
    box(win1, '|', '-');    /* Draw a box around win1.   */

    refresh();  /* Display stdscr on screen.  */

    wrefresh(win1);     /* Display win1 on screen.  */

(1)   getstr(str);      /* Pause. Type a few words!   */

   mvaddstr(22, 1, str);
(2)   getch();
     /* Add string to win1.        */

    mvwaddstr(win1, 5, 5, "Hello");
    wrefresh(win1);     /* Add win1 to terminal scr.  */

    getch();    /* Pause.  Press Return.      */

    delwin(win1);       /* Delete win1.           */

(3)   touchwin(stdscr); /* Refresh all of stdscr.     */

   getch();                   /* Pause.  Press Return.      */
   endwin();                  /* Ends session.              */
}
|
Key to Example 6-6:
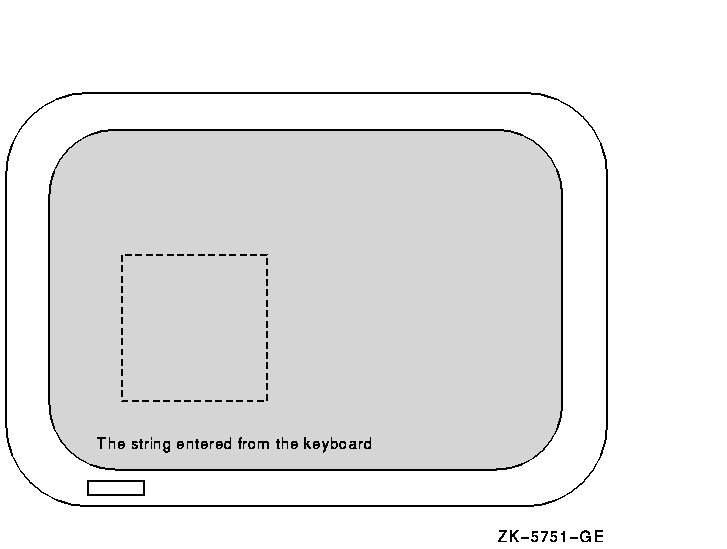
- The program waits for input. The echo was disabled using the noecho macro, so the words that you type do not appear on stdscr . However, the macro stores the words in the variable str for use elsewhere in the program.
- The getch macro causes the program to pause. When you are finished viewing the screen, press Return so the program can resume. The getch macro refreshes stdscr on the terminal screen without calling refresh . The screen appears like Figure 6-4.
Figure 6-4 An Example of the getch Macro

- The touchwin function refreshes the screen so that all of stdscr is visible and the deleted occluding window no longer appears on the screen.
| Previous | Next | Contents | Index |


